Using_Git_with_R

Repo for Intro to R for Biologists Bootcamp
View the Project on GitHub bioinformatics-core-shared-training/Using_Git_with_R
Practical 1.
 For steps 1-4 follow your trainer - this will be ‘live-coding’.
We are going to access the GitHub web interface via our browser (www.github.com) and create our own GitHub repository. Next we will cut and paste a provided Markdown file into a new file in our repository. We will then allow the other students on our desk access to our repos and vice-versa. We will make changes in each others repository and explore how git tracks and attributes the changes.
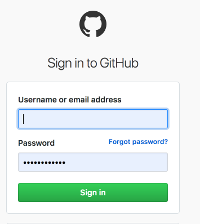
- Log into github using your GH account.

 .
.
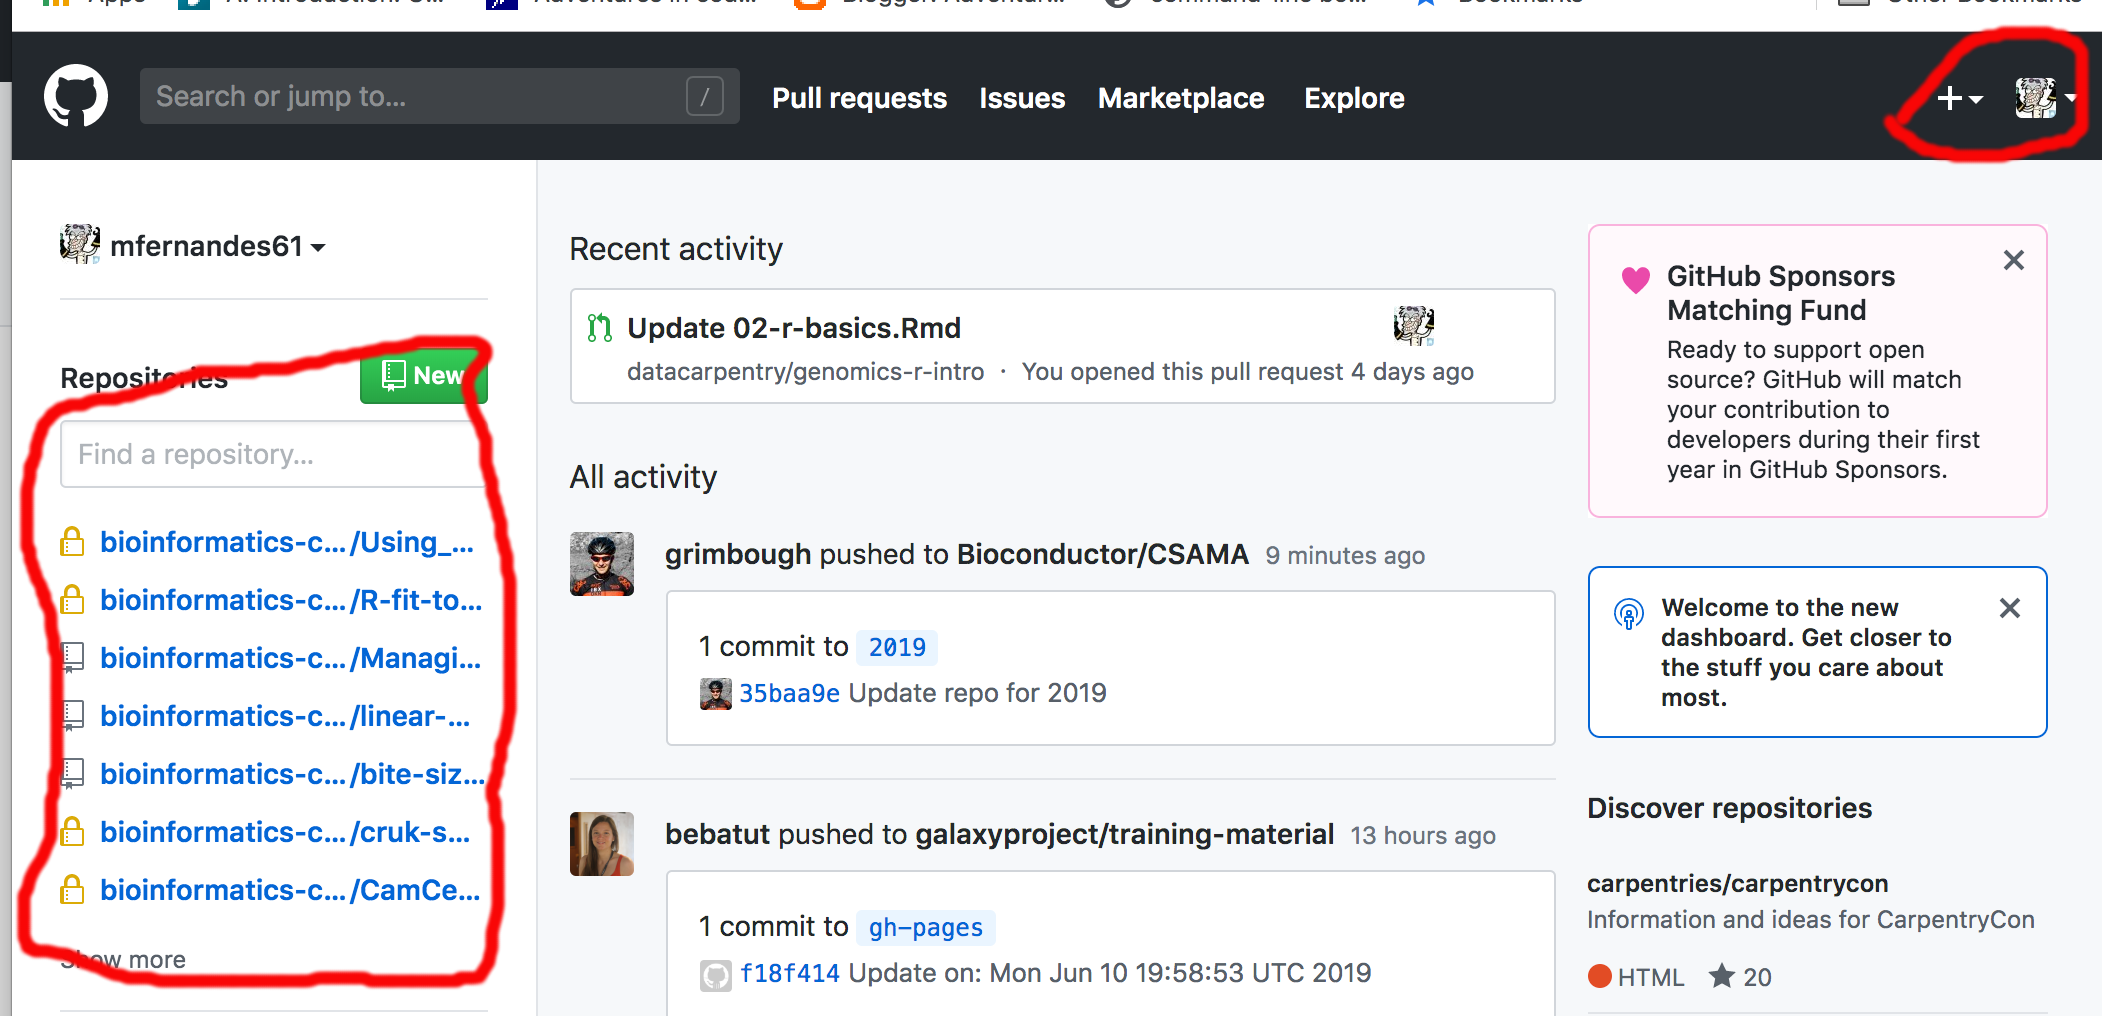
On the LH pane, your repositories will appear here as you create them.
On the top RH corner are two dropdown menus. The one with your GH avatar if clicked upon will provide you options to change the default settings, alter your profile, log out of GitHub etc. The other one will be used in the next step to create a new GH repository.
 .
.
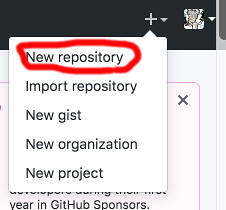
- Create a new repository.
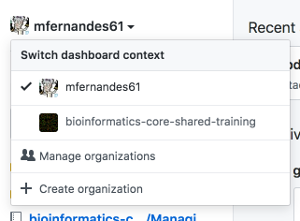
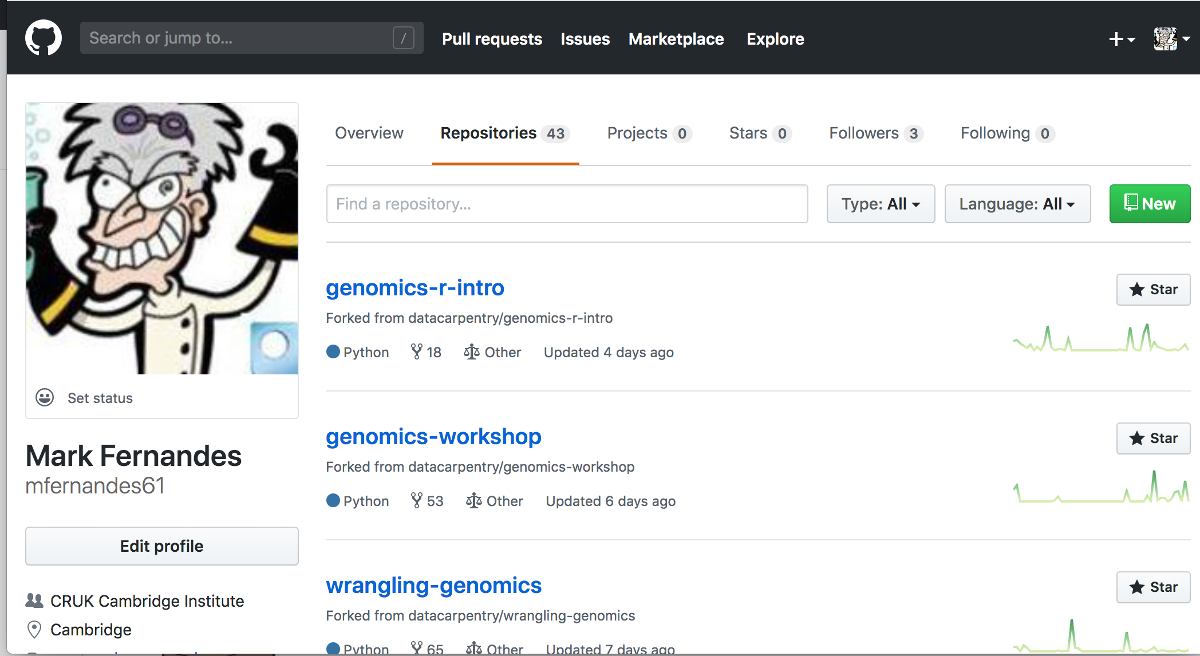
When you have several repos created, Github will list them like this:
- We have created an Example.md Markdown file in this GitHub repo with several example used of Markdown.
This has been saved onto your hard disk - use the ‘Upload files’ button and either browse to it or use drag and drop. Next, click the commit button (For extra credit type in a helpful extra description).

- Over to you Add the the Github usernames for the people on your desk and allow them write privileges to your repsotory and get them to do the same for you on theirs.
Click on the Settings link.
 .
.
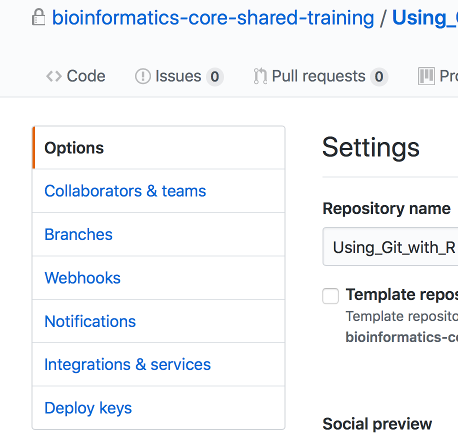
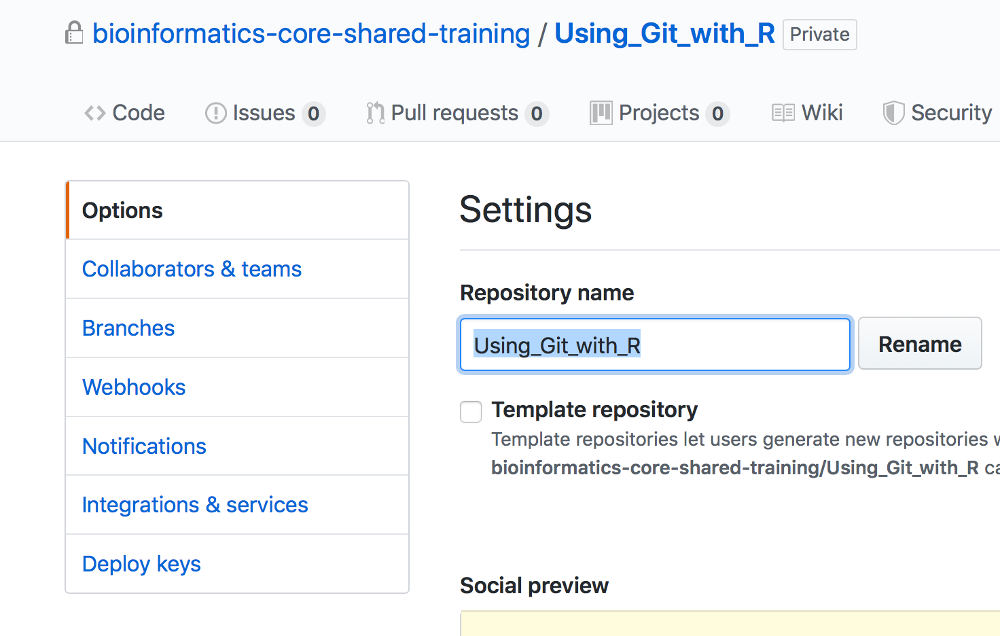 Select the Collaborators option.
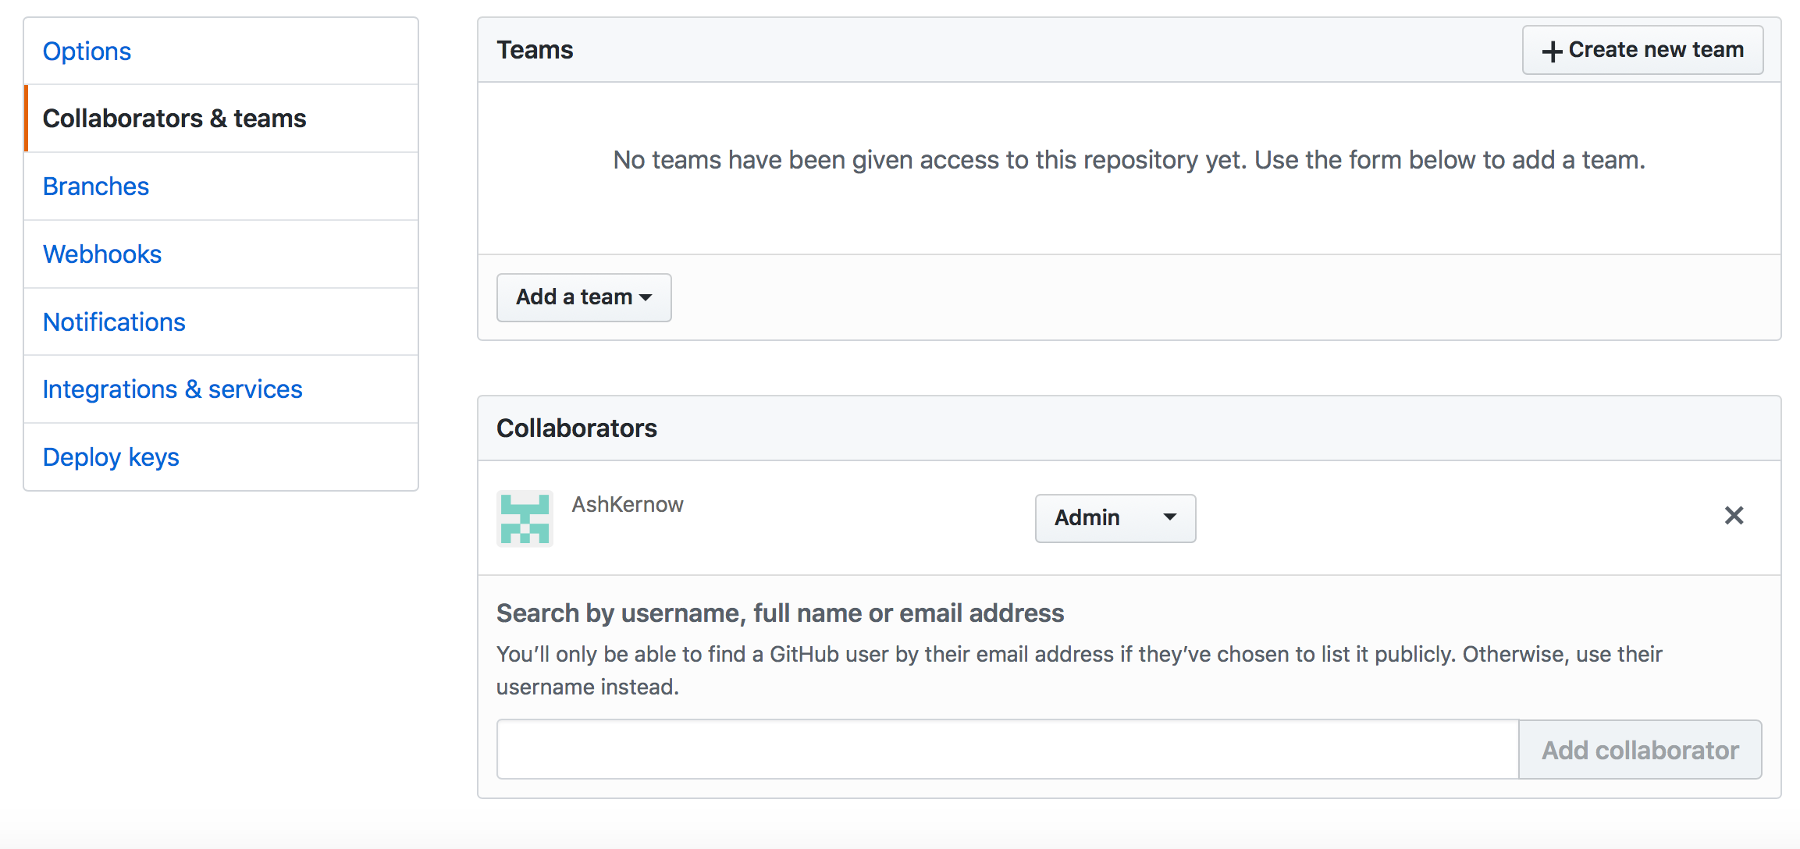 Type in the usernames and click on add collaborator. When you are asked to become a collaborator, you will receive an e-mail asking you to accept. After responding to that you will appear as a collaborator in that other repo. The repos owner can then set the privileges that the collaborator has (Choose ‘Write’ for now).
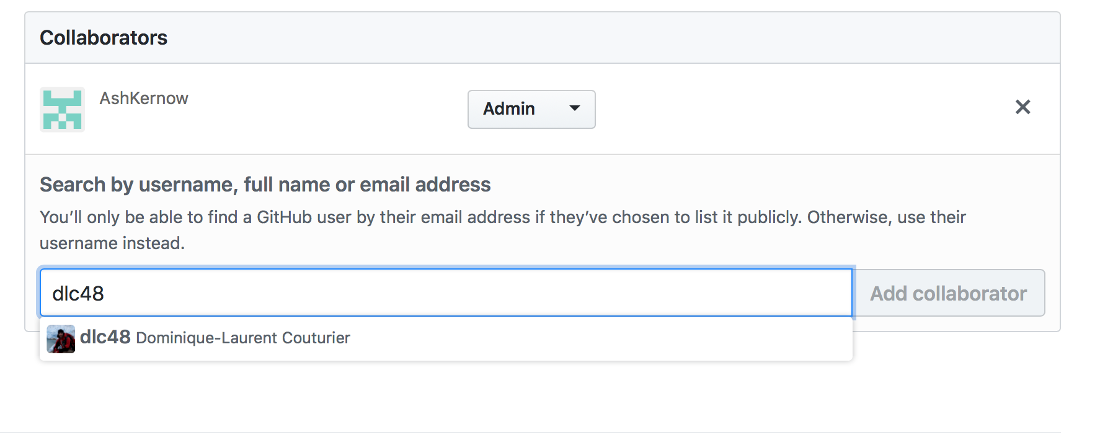
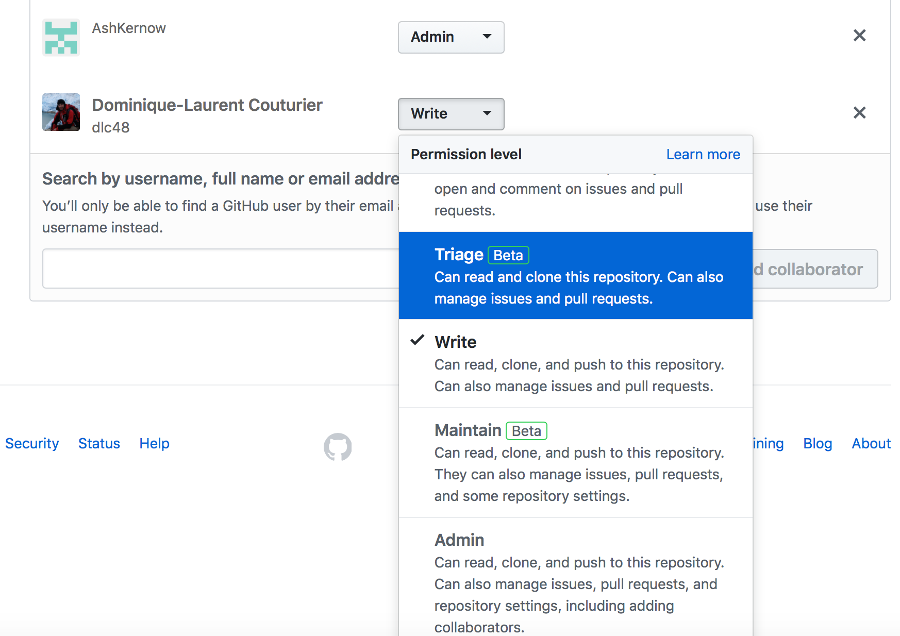
- Edit each others files and save(commit) the file changes (practice meaningful commit messages). Note that to edit an existing file you need to click on the pen icon.
Over the next 15 minutes make ONE of the following changes in each of your neighbours example files:
a) Add some directions on how to get to the training room.
b) Add yourself to the list of Trainers.
c) Change a Resource name in the table of web-links.
d) The image link does not work (as the graphics file is not in your new GH repo). You can fix it by either downloading the graphic from the ‘Git_using_R’ repo, uploading a graphic from your computers hard disk (see below) or by downloading an image from the web and then editing the markdown that points to the SS1_ file.
Files can be uploaded to your GH repo by clicking on the repos ‘upload file button’ and either dragging and dropping the file or using the file browser.
Explore how GH logs and datestamps this activity.
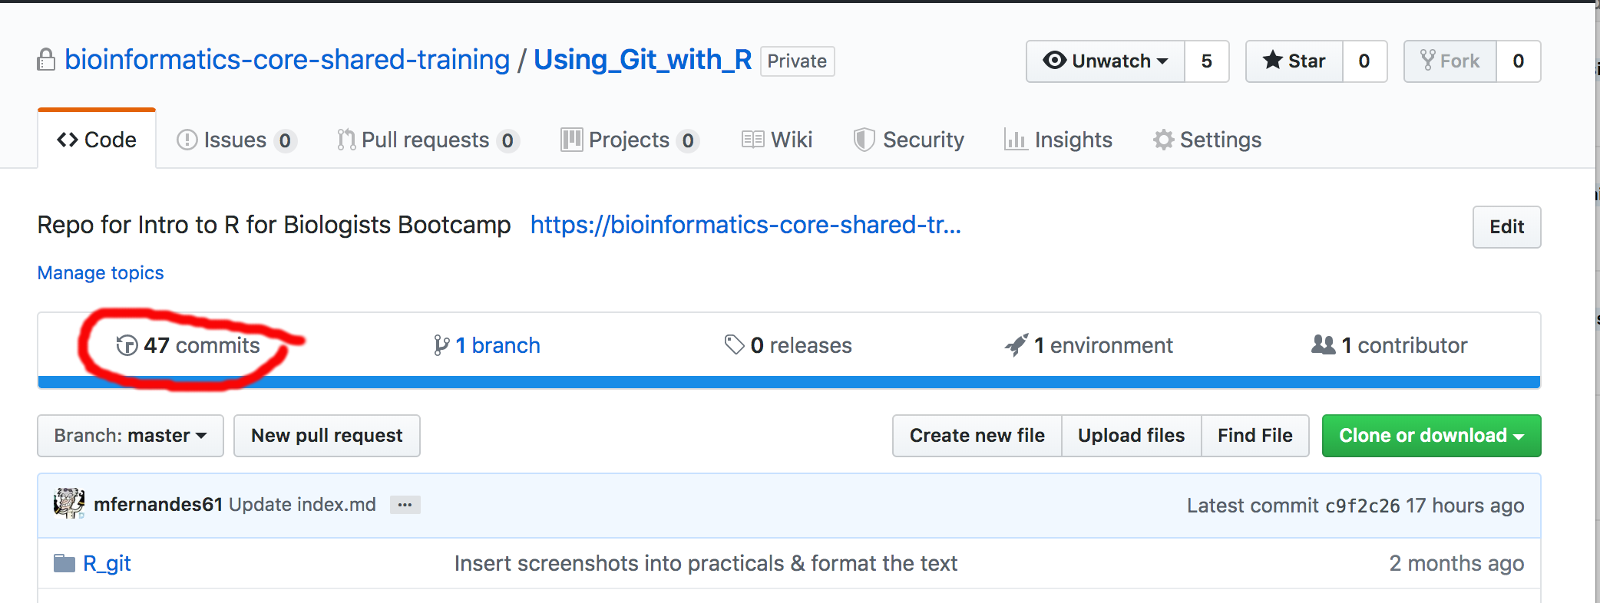
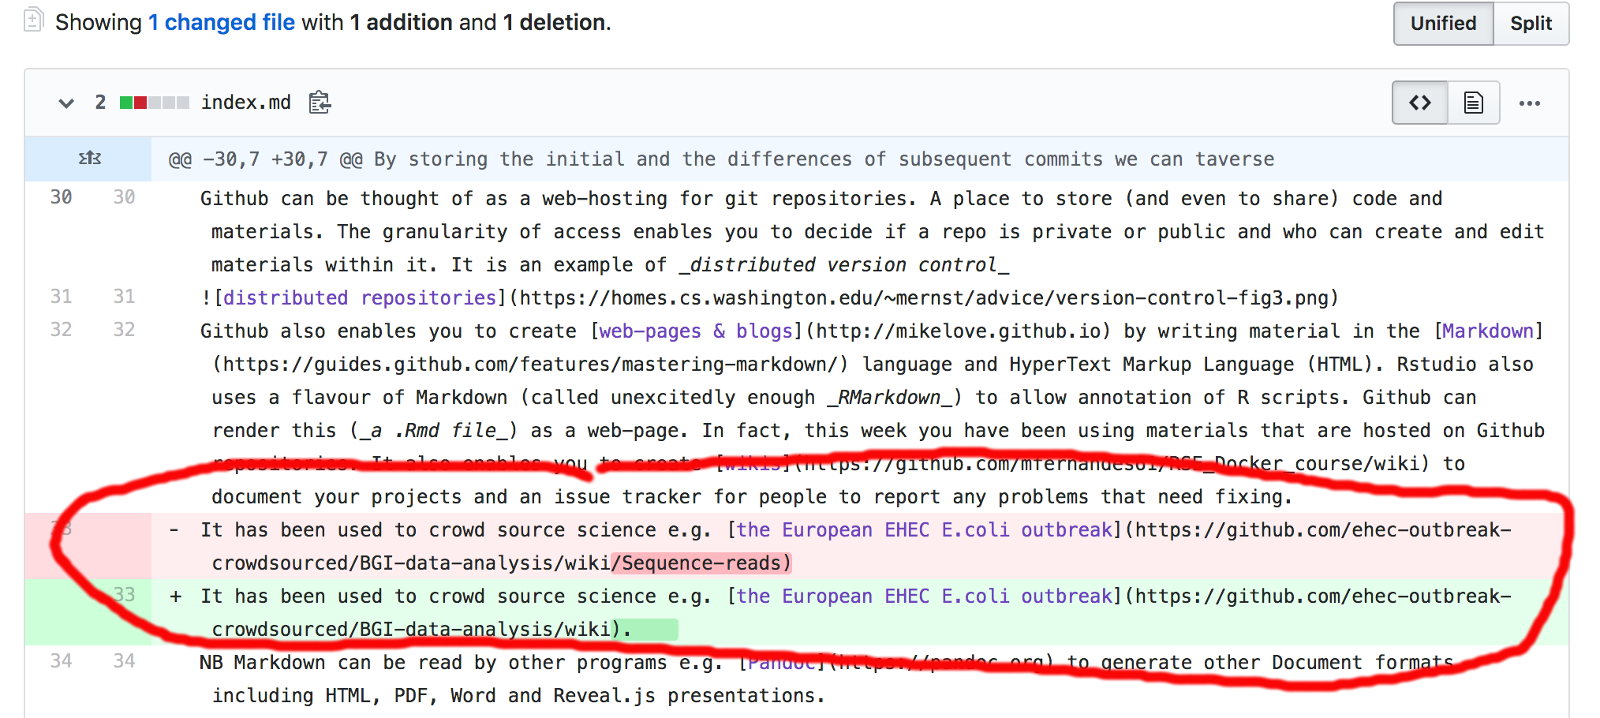
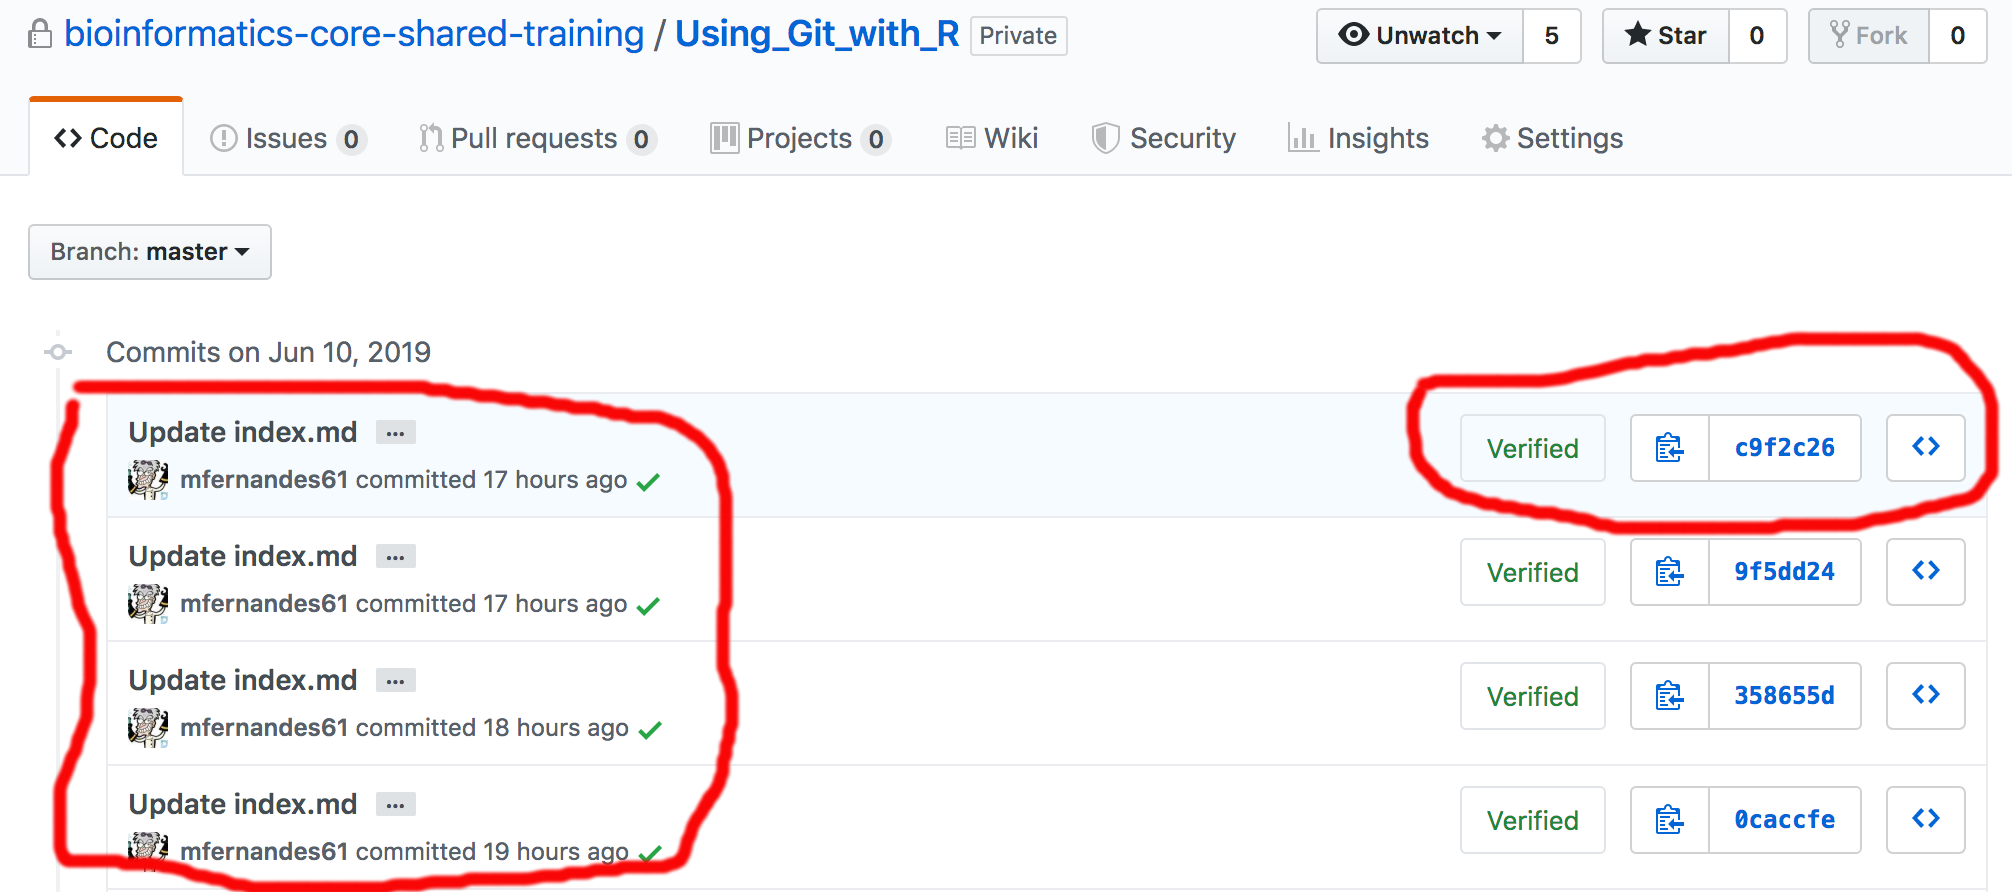 Git can display the differences made to the file (when you use the ‘commits’ link) between commits by highlighting in red (deleted item) & green (added item).
 -End of Exercise-
Extras.
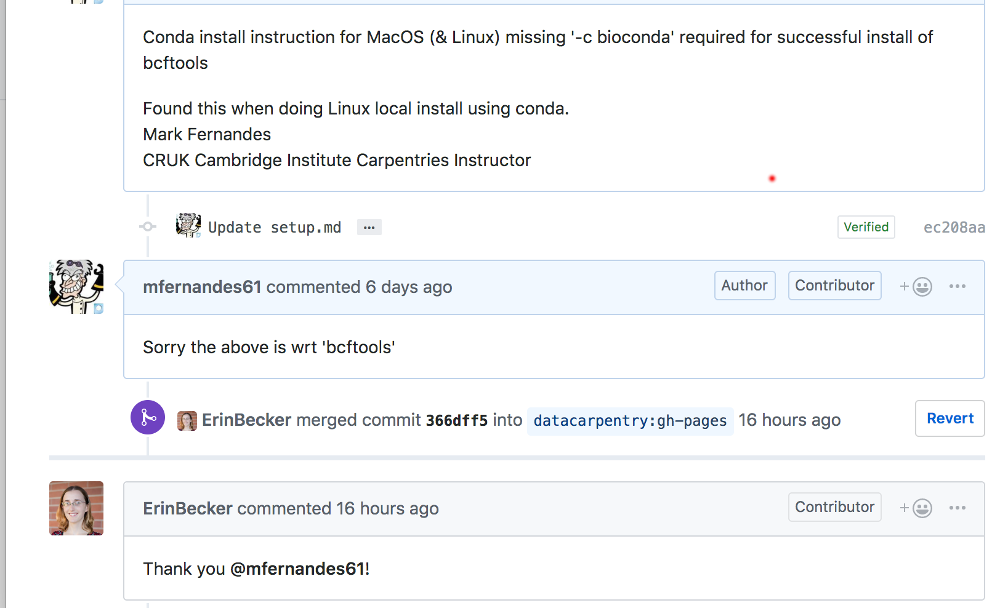
Example of a ‘pull’ request e.g. to correct a file in a repository. Basically, you can use the ‘fork’ option to work on a copy of a repo that you have no write privileges to. You can work on the repo making changes and then issue a ‘pull’ request. This asks the repo owner to consider incorporating your changes into the main version of the repo.
You can have personal and group/organisation repositories e.g.
